
Running a Local Server with php artisan serve
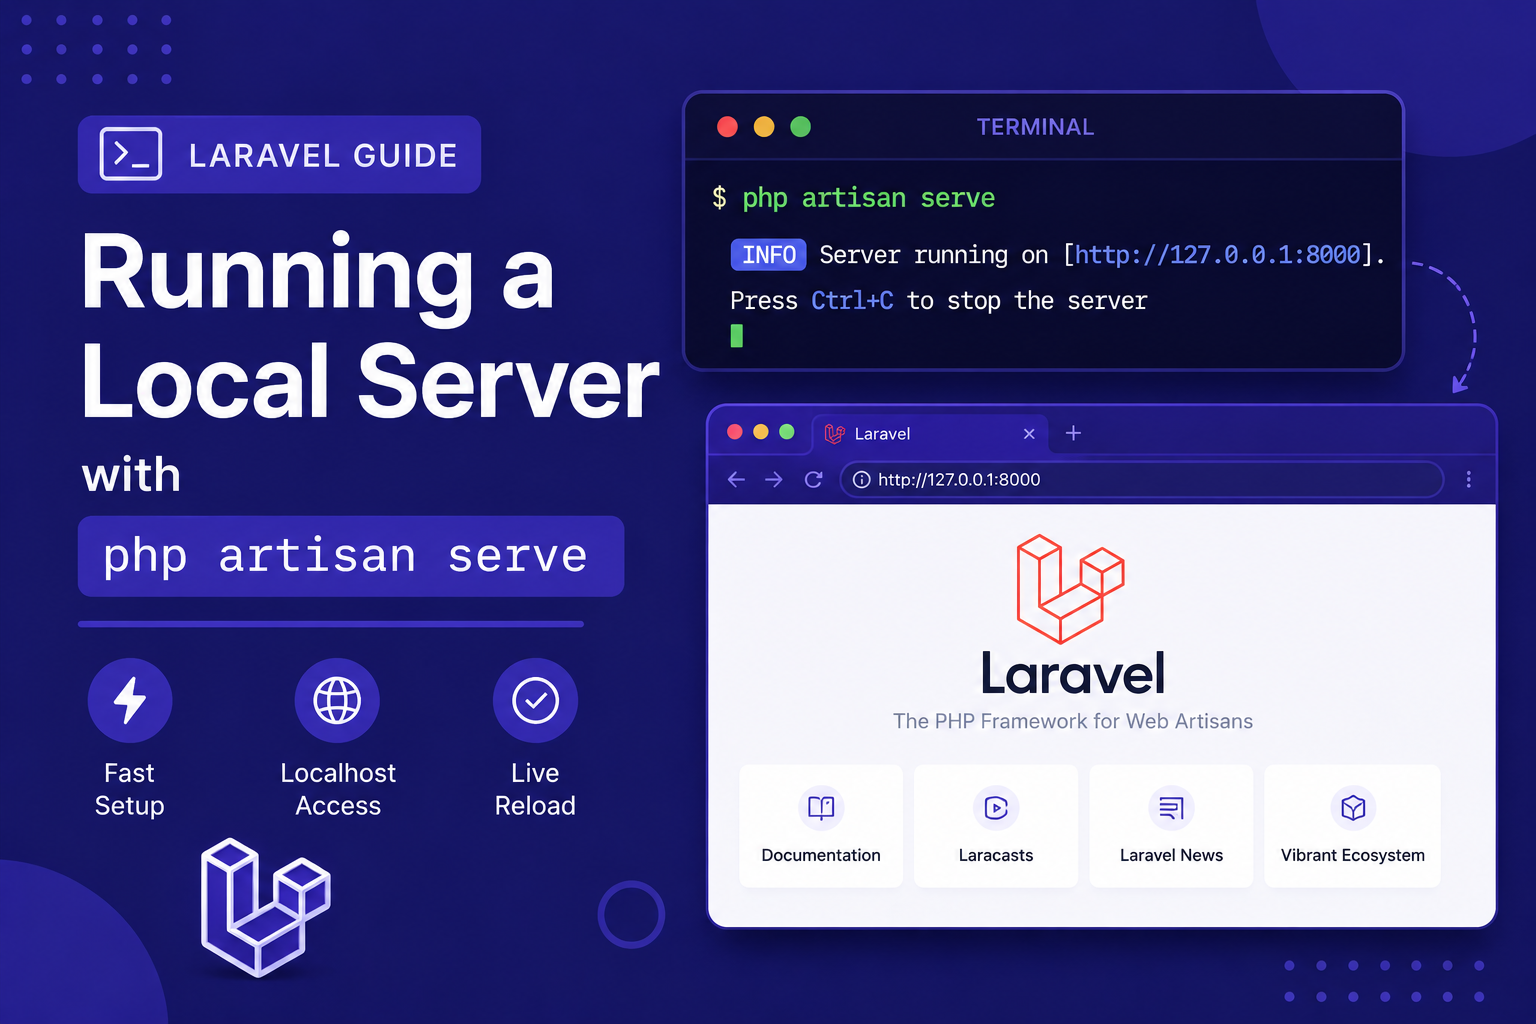
In this article, we'll cover how php artisan serve works, useful options you can customize, common issues you might run into, and how it compares to using a full local server environment like Laravel Herd or XAMPP.
3 views
Introduction
Once your Laravel project is installed and configured, the next step is actually seeing it run in a browser. Laravel makes this incredibly easy with a built-in command called php artisan serve, which spins up a lightweight local development server without requiring you to install or configure Apache, Nginx, or any other web server software.
This command is one of the first things most Laravel developers learn, and for good reason — it lets you get an application up and running in seconds, which is perfect for local development, testing, and following along with tutorials. It's not meant for production use, but for everyday development work, it's fast, convenient, and requires zero configuration.
In this article, we'll cover how php artisan serve works, useful options you can customize, common issues you might run into, and how it compares to using a full local server environment like Laravel Herd or XAMPP.
What is php artisan serve?
php artisan serve is an Artisan command that starts PHP's built-in development server, pointed specifically at your Laravel project's public/ directory (the folder that acts as the application's entry point). It's a thin wrapper around PHP's own php -S server command, tailored specifically for Laravel projects.
To use it, simply navigate to your project folder in the terminal and run:
php artisan serveBy default, this starts your application at:
http://127.0.0.1:8000Opening that address in your browser will show your Laravel application — either the default welcome page on a fresh install, or your actual app if you've already started building.
Stopping the Server
To stop the server, simply press Ctrl + C in the terminal where it's running. The server only runs while that terminal session is active; closing the terminal window will also stop it.
Customizing the Server
php artisan serve supports a few useful options for adjusting how it runs.
Changing the port If port 8000 is already in use, or you simply want to run multiple projects simultaneously, you can specify a different port:
php artisan serve --port=8080Changing the host By default, the server only listens on 127.0.0.1 (localhost), meaning it's only accessible from your own machine. If you want to access it from another device on your network (like testing on a phone), you can bind it to your machine's network IP:
php artisan serve --host=0.0.0.0You would then access it using your computer's local network IP address instead of 127.0.0.1.
Combining both options
php artisan serve --host=0.0.0.0 --port=8080Common Issues and How to Fix Them
"Address already in use" error This means another process is already using port 8000, often another running instance of php artisan serve you forgot to stop. Either close the other process or specify a different port using --port.
Page loads but styles/JavaScript are missing This usually isn't related to php artisan serve itself, but rather to frontend assets not being compiled. Run npm run dev (or npm run build for production-style assets) in a separate terminal alongside your server.
Changes to .env don't seem to apply If you've cached your configuration with php artisan config:cache, you'll need to run php artisan config:clear and restart the server for .env changes to take effect.
"Could not open input file: artisan" error This means you're not in the correct project directory. Make sure you've navigated (cd) into your Laravel project folder before running the command.
Tips for a Smooth Local Development Workflow
Run
php artisan serveandnpm run devin separate terminal tabs, since both need to stay running simultaneously during development.Bookmark
http://127.0.0.1:8000in your browser for quick access during development sessions.Use a different port for each project if you frequently work on multiple Laravel apps at once, to avoid port conflicts.
Consider Laravel Herd or Valet (macOS) for daily use, as they offer a more permanent local server setup without needing to manually run
artisan serveevery time — thoughartisan serveremains excellent for quick testing or CI environments.Check your terminal output for errors — Laravel often prints helpful error messages directly to the terminal running the server.
FAQ About php artisan serve
1. Is php artisan serve suitable for hosting a live website? No. It's built on PHP's simple development server, which isn't designed to handle production-level traffic or security requirements. Use Nginx or Apache with PHP-FPM for production instead.
2. Why can't I access my local server from my phone? By default, the server only listens on 127.0.0.1, which restricts access to your own machine. Use the --host=0.0.0.0 option and connect using your computer's local network IP address instead.
3. Can I run multiple Laravel projects at the same time? Yes, as long as each one uses a different port. Use the --port option to assign a unique port to each project.
4. Do I need to restart the server every time I change my code? No, for most PHP code changes (routes, controllers, views), Laravel picks them up automatically. However, changes to .env or cached config typically require clearing the cache and sometimes restarting the server.
5. What's the difference between php artisan serve and tools like Laravel Herd? php artisan serve is a temporary, manually-started server for a single project, while tools like Herd or Valet run persistently in the background and can serve multiple projects automatically using custom local domains.
6. Does php artisan serve support HTTPS? Not out of the box — it only serves over plain HTTP. If you need HTTPS locally, tools like Laravel Herd or manually configuring a local Nginx/Apache setup with a self-signed certificate are better options.
Conclusion
php artisan serve is one of the simplest yet most useful commands in the Laravel ecosystem, letting you go from a freshly installed project to a running application in seconds. While it's not meant for production, it's more than capable for local development, testing, and quick demos.
In the next article, we'll wrap up this beginner series by covering essential Artisan CLI commands every Laravel developer should know, giving you a solid command-line toolkit to speed up your daily workflow.
Found this helpful? Share it!