
Blade Components and Slots
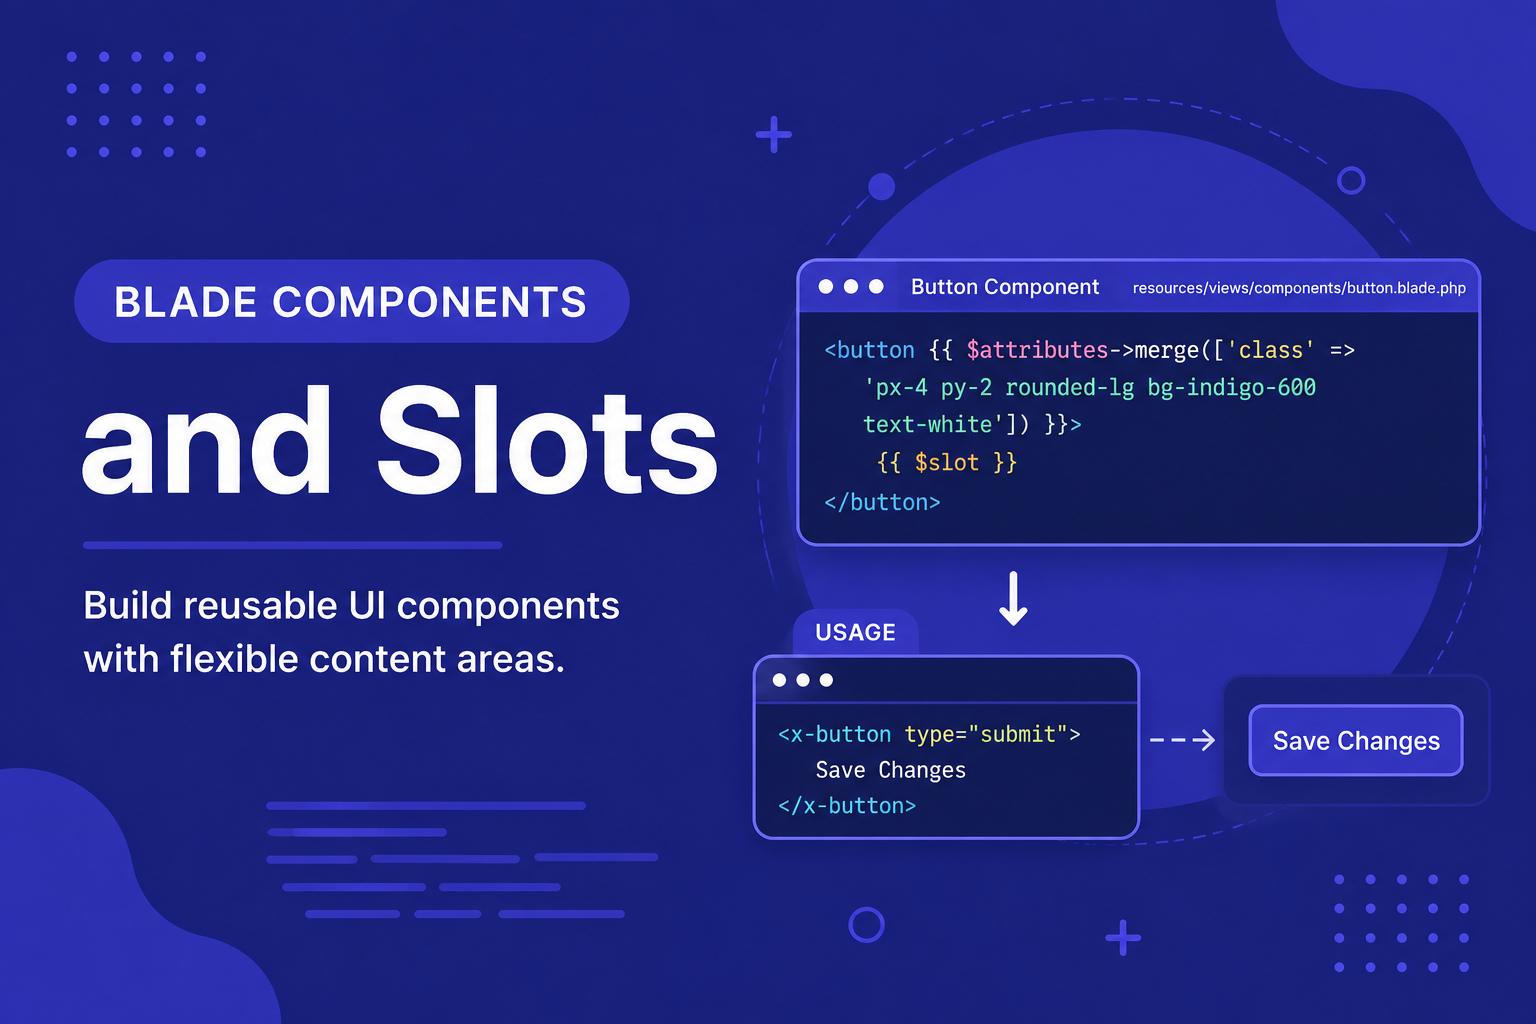
In this article, we'll cover how to create Blade components, pass data into them, and use slots to make them flexible enough to handle varying content.
99 views
Introduction
In the previous article, we saw how layouts and sections help avoid repeating shared HTML structure like headers and footers across pages. But layouts only solve part of the reuse problem — what about smaller, repeatable pieces, like a button, a card, an alert message, or a form input, that you want to reuse across many different pages and contexts?
This is exactly what Blade components are built for. Components let you package a piece of markup — along with its own logic and customizable content — into a small, reusable unit that behaves almost like a custom HTML tag. Paired with slots, which let you pass in flexible content from outside, components become one of Blade's most powerful tools for building consistent, maintainable interfaces.
In this article, we'll cover how to create Blade components, pass data into them, and use slots to make them flexible enough to handle varying content.
What is a Blade Component?
A Blade component consists of two parts: a Blade view file (the actual HTML/template) and, optionally, a PHP class that provides logic or data to that view. For many simple components, you don't even need the PHP class — Laravel supports lightweight, view-only components too.
Creating a Simple Component
Let's create a reusable "alert" component using Artisan:
php
php artisan make:component AlertThis generates two files:
app/View/Components/Alert.php— the component's PHP class.resources/views/components/alert.blade.php— the component's Blade view.
The generated class looks like this:
php
<?php

namespace App\View\Components;

use Illuminate\View\Component;

class Alert extends Component
{
    public function render()
    {
        return view('components.alert');
    }
}
Inside alert.blade.php, you define the actual markup:
html
<div class="alert">
    <p>This is an alert!</p>
</div>
Using the Component
Once created, you can use it in any Blade view like a custom HTML tag:
html
<x-alert />Laravel automatically resolves <x-alert /> to the Alert component we just created, based on naming convention.
Passing Data into Components
Static content isn't very useful on its own — components become powerful once you can pass dynamic data into them, just like passing props to any reusable UI element.
Passing Data via Attributes
php
php artisan make:component Alertphp
class Alert extends Component
{
    public $type;
    public $message;

    public function __construct($type, $message)
    {
        $this->type = $type;
        $this->message = $message;
    }

    public function render()
    {
        return view('components.alert');
    }
}
html
<!-- components/alert.blade.php -->
<div class="alert alert-{{ $type }}">
    {{ $message }}
</div>
Now you can use the component and pass in data using HTML-like attributes:
html
<x-alert type="danger" message="Something went wrong!" />Behind the scenes, Blade automatically maps type="danger" and message="..." to the constructor arguments of your Alert class.
Slots: Passing Flexible Content
Attributes work great for simple values like strings, but sometimes you need to pass entire chunks of HTML into a component — for example, letting the content inside the alert include a link or bold text. This is where slots come in.
Basic Slot Usage
Update the component view to use {{ $slot }} instead of a fixed message:
html
<!-- components/alert.blade.php -->
<div class="alert alert-{{ $type }}">
    {{ $slot }}
</div>
Now, instead of a message attribute, you place content directly between the opening and closing component tags:
html
<x-alert type="warning">
    Your subscription will expire <strong>tomorrow</strong>.
</x-alert>
Whatever you place inside the tags — including HTML — becomes available as $slot inside the component.
Named Slots
Sometimes a component needs multiple distinct content areas, not just one. For example, a card component might need both a title and a body. Named slots handle this cleanly:
html
<!-- components/card.blade.php -->
<div class="card">
    <div class="card-header">
        {{ $title }}
    </div>
    <div class="card-body">
        {{ $slot }}
    </div>
</div>
html
<x-card>
    <x-slot:title>
        Post Title
    </x-slot:title>

    This is the body of the card, and it can include any HTML you'd like.
</x-card>
Here, $title refers to the named slot, while $slot still refers to the default (unnamed) content.
Anonymous Components
For very simple components that don't need a backing PHP class at all, Laravel supports anonymous components — just a Blade file, with no corresponding class:
php
php artisan make:component Alert --viewThis only creates resources/views/components/alert.blade.php, and you can still pass data into it using the $attributes bag or simple variable binding, without needing a dedicated class file.
Tips for Working with Components and Slots
Use components for anything you find yourself copy-pasting across multiple views — buttons, cards, alerts, form inputs, and similar repeated UI patterns.
Default to anonymous components for simple, presentation-only pieces, and only create a full class-based component when you need actual PHP logic behind it.
Use named slots when a component needs multiple distinct content areas, rather than cramming everything into a single default slot.
Keep component names descriptive, matching what they represent (
<x-alert>,<x-card>,<x-button>), so their usage is self-explanatory in your views.Combine components with layouts — layouts handle overall page structure, while components handle smaller, reusable pieces within that structure.
FAQ About Blade Components and Slots
1. What's the difference between a Blade component and a simple @include? @include just inserts another Blade file's content inline, without a formal structure for props or slots. Components offer a more structured approach with defined data attributes, slots, and optional backing logic, making them better suited for genuinely reusable pieces.
2. Do all components need a PHP class? No. Anonymous components (created with --view) only require a Blade file, which is perfectly fine for components that don't need custom logic beyond simple data display.
3. Can I pass PHP variables (not just strings) into a component's attributes? Yes, by prefixing the attribute name with a colon: <x-alert :type="$alertType" />. The colon tells Blade to evaluate the value as PHP rather than treating it as a literal string.
4. What happens if I don't provide content for a named slot? The named slot will simply be empty (or null) inside the component, unless you add a check or default value within the component's view to handle that case.
5. Can components include other components inside them? Yes, components can be nested freely, just like any other Blade content, allowing you to build more complex UI structures from smaller reusable pieces.
6. Is there a performance cost to using many components on a single page? The overhead is minimal, since Blade compiles components down into efficient PHP just like regular views. For most applications, the readability and maintainability benefits far outweigh any negligible performance difference.
Conclusion
Blade components and slots take reusability far beyond what layouts alone can offer, letting you build a genuine library of reusable UI pieces for your application — buttons, cards, alerts, and anything else you find yourself repeating. Once you get comfortable with props and slots, you'll find yourself reaching for components constantly.
In the next article, we'll step back and cover Blade's core directives in more depth — @if, @foreach, @include, and several others — giving you a complete toolkit for handling logic directly within your views.
Found this helpful? Share it!